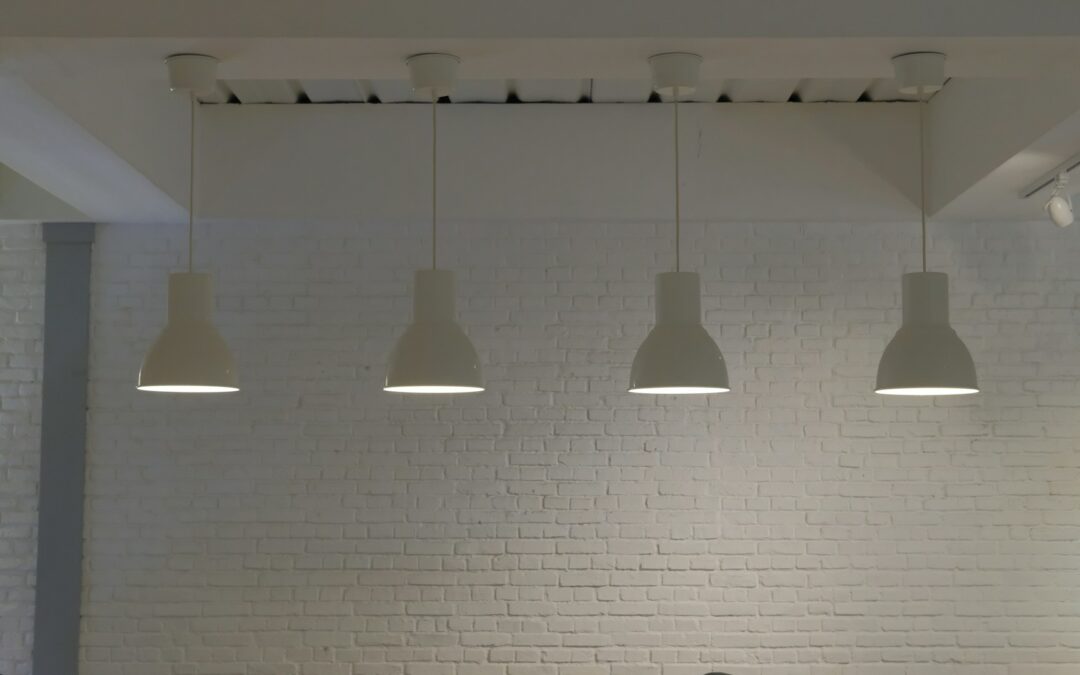
Switching out old light fixtures can make a world of difference in your home. Not only does it brighten up spaces that might have seemed a bit dim, but it’s a quick and exciting way to update the look of any room. New designs and efficient lighting technology bring both style and functionality, making your home feel more inviting and modern.
Imagine transforming your living area with just a simple change! Say goodbye to outdated fixtures and step into a well-lit world that matches your unique taste and needs. With new fixtures, even small spaces can feel refreshed, and choosing energy-efficient options can lead to potential savings on your energy bill. It’s a fun, rewarding project that can be done safely with the right precautions.
Preparing for the Upgrade
Before you begin, it’s important to make sure you have everything set up for a successful task. Here’s a handy checklist to get you started:
– Turn Off the Power: Safety first! Go to your circuit breaker and make sure power is off to the light fixture you’re going to replace. This ensures you’re fully protected while working.
– Gather Your Tools and Materials:
– A reliable screwdriver
– Voltage tester for checking circuits
– Wire connectors for secure wiring
– Electrical tape to wrap connections
– Inspect Existing Wiring: Take a moment to look over the current wiring once the fixture comes down. Check for any signs of wear or damage that might need attention before proceeding.
Taking these steps ensures everything goes smoothly. With your tools handy and safety measures in place, you’re all set to move forward with confidence, ready to replace the old fixture without a hitch. This preparation not only helps you get the job done faster but also brings peace of mind knowing that all the bases have been covered, leaving you ready to enjoy the new atmosphere created by your updated light fixture.
Removing the Old Light Fixture
With everything prepared, it’s time to carefully take down the existing fixture. Begin by removing the cover or shade, as this will expose the main structure of the fixture. You’ll need a screwdriver to unscrew the fixture from the ceiling. Take your time here to prevent any accidental damage to the ceiling or wiring.
Once the fixture is unscrewed, you’ll see the wires connecting it to the ceiling. This is where your voltage tester comes in handy; make sure there’s no lingering electrical current. Slowly unscrew the wire nuts and gently pull apart the wires. Keep track of each wire’s position as this will simplify the installation of your new light fixture.
Installing the New Light Fixture
Now that the old fixture is removed, installing the new one is the exciting part. Start by attaching the mounting plate to the ceiling junction box. This is typically secured with screws and should sit flush against the ceiling for stability.
Connecting the wires is the next step. It’s important to match the wire colors: black to black, white to white, and the green/bare wire to the ground wire. After matching them up, use wire nuts to secure the connections, then wrap them with electrical tape for added safety and durability.
Once the wiring is secure, mount the new fixture onto the ceiling. Make sure it’s tightly fastened to prevent any wobbling. Finish up by attaching the fixture’s cover or shade, making your new installation look sleek and complete.
Testing and Final Touches
Once your fixture is securely installed, head back to the circuit breaker and switch the power back on. Return to your new light fixture and flip the switch to ensure everything is working properly. If the light doesn’t turn on, double-check your connections to make sure each wire is properly matched and secured.
Finally, adjust the fixture if necessary to make sure it’s properly aligned. Clean up the work area, dispose of the old fixture components responsibly, and step back to admire your refreshed space. A newly installed light fixture can truly transform a room, bringing in a sense of modernity and brightness.
Brightening Up Your Home with New Light Fixtures
Swapping out old fixtures offers more than just functional lighting; it enhances your home’s overall look. A well-lit room can create a welcoming atmosphere and showcase your space in the best light. Choosing energy-efficient lights not only benefits the environment but also slightly reduces electricity costs over time.
To maintain this newfound brightness, regular cleaning and occasional check-ups are recommended. Dusting the fixtures and ensuring all parts remain secure keeps everything in top shape. Investing a little time in upkeep ensures your fixtures continue to shine brightly and serve their purpose effectively.
Remember, while handling these tasks can be straightforward, seeking professional help for future upgrades or repairs can save you time and ensure everything meets safety standards. Whether you’re looking to switch up the style or simply refresh the space, updating light fixtures is a powerful way to transform any room.
Ready to transform your home with stunning light fixtures? Trust Quality Handyman & Home Repair to deliver exceptional results with our expert electrician in Kansas City, Overland Park. Whether you’re updating the style or enhancing energy efficiency, rely on their professional touch for a flawless installation. Illuminate your space with confidence and enjoy the enhanced ambiance of a beautifully lit home.