Old light switches in your home might seem harmless, but they can actually be a hidden safety risk. Over time, switches wear out just like any other part of your house. Whether it’s the wiring behind the wall or the switch plate itself, things can loosen, corrode, or stop working correctly. If you’ve ever flipped a switch and noticed a hot plate or flickering lights, that’s a sign something might be off. For older homes in Overland Park, these problems can sneak up, especially if the switches haven’t been touched in years.
Modern light switches aren’t just about style or convenience. Updated switches come with better build quality and safer materials. Many newer switches are designed to reduce wear on your electrical system and even prevent certain issues, like short circuits or sparking. Small upgrades like this make a big difference around the house and often go unnoticed until there’s a real problem. Updating switches, especially in high-traffic areas like kitchens and hallways, can be a quick, smart move to help keep your home and family safe.
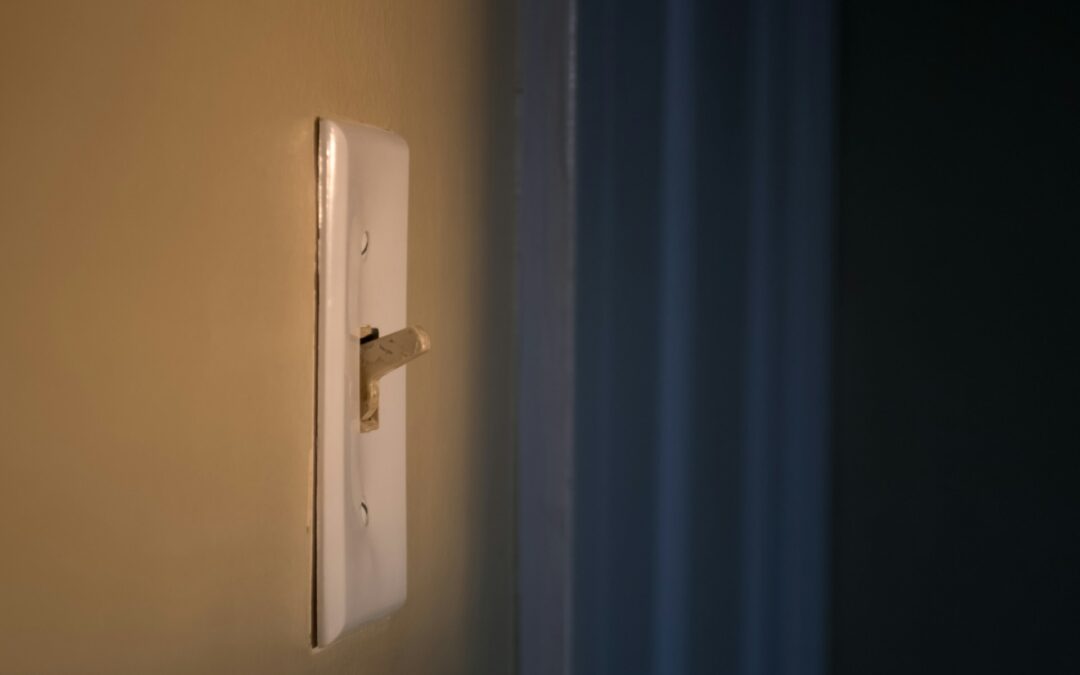
Signs Your Light Switch Needs Replacement
Knowing when a switch is going bad can save you a lot of trouble later on. These signs are easy to spot once you start paying attention to how your switches feel, sound, and look during regular use.
Keep an eye out for the following:
– Flickering lights that don’t stop after changing the bulb
– Lights that take a second or two to turn on after flipping the switch
– A switch that feels warmer than the rest of the wall around it
– Strange popping or crackling noises when you use the switch
– Loose or wobbly switch housing
– Visible cracks in the cover plate or discoloration around the edges
For example, if you flip your bathroom switch and the light doesn’t come on until a few seconds later, that’s something worth checking. It doesn’t always mean the wires are dangerous, but slow response and inconsistent lighting are common signs that it’s time for a replacement. Also look for cosmetic clues. Old switches tend to yellow, crack, or get grimy despite cleaning. These might seem like small issues, but they often point to bigger electrical concerns hiding behind the wall.
Safety Precautions Before Replacing Switches
Before making any switch changes, safety has to come first. Playing with electricity isn’t worth the risk, so take these steps every time, even if the job seems quick.
1. Turn off the power at the breaker box
Flip off the circuit breaker that controls the switch. Then flip the light switch itself to double check that power is really off.
2. Use the right tools and safety gear
Grab a voltage tester so you can confirm there’s no electricity flowing. Also, wear rubber-soled shoes and keep your work area dry.
3. Label the wires before disconnecting anything
Most switches will have a few wires connected behind the wall. Usually a hot wire, a neutral, and sometimes a ground or traveler wire in complex setups. Use painter’s tape or small labels so you know exactly how everything was connected before removal.
4. Don’t rush the process
Switches might be mounted tightly or have wiring that’s tougher to reach. Take your time and never force anything out of place.
If any of these steps feel confusing or uncertain, stopping is the best move. Problems usually come up when people rush, guess at where wires go, or skip safety steps altogether. Understanding these basics lowers the chance of mistakes and helps set the stage for a cleaner, safer install.
Steps To Replace An Old Light Switch
If you’re looking to swap out an old light switch, the process is fairly straightforward provided everything is clearly labeled and in good condition. That said, if anything looks off or you’re unsure, it’s always safer to step away and let someone handle it who regularly does this kind of work.
Here are the general steps for replacing a standard light switch:
1. Gather what you need. A flathead screwdriver, needle-nose pliers, a new switch, a voltage tester, and labels for the wires are usually enough
2. Turn the power off at your circuit breaker. Double check the switch doesn’t power on once flipped
3. Unscrew the wall plate and remove it carefully. You’ll see the actual switch screwed into a mounting box. Remove the screws holding the switch in place
4. Test the wires using a non-contact voltage tester to make sure everything is dead. Even if you’ve flipped the main breaker, this is a must
5. Take note of how the wires are connected. This is where your labels come in handy. Label each wire so you can hook them up the same way on the new switch
6. Disconnect the wires from the old switch. You’ll likely see black (hot), white (neutral), and bare copper or green (ground) wires
7. Attach the wires to the new switch according to the labels. Tighten the terminal screws and give the wire connections a slight tug to be sure they’re secured
8. Push the wiring back in, mount the switch, and screw on the wall plate
9. Flip the breaker back on and test the switch. If everything works smoothly, you’re done
Many single switch setups follow this process, but if your box has multiple switches or you’re seeing more wires than expected, that adds a layer of complication. In those cases, calling in help is usually the right call, especially when older wiring is involved.
When To Call A Professional Handyman
Some jobs feel simple until you’re halfway in and run into something unexpected. Replacing a basic switch might go just fine. But things get tricky once you’re dealing with:
– Multi-way switches (two or more switches controlling the same light)
– Older homes with outdated or brittle wiring
– Circuit breakers that are unlabeled or incorrect
– Wires that look damaged, frayed, or corroded
Even something like mismatched wiring colors from previous work can raise a red flag. The last thing you want is to accidentally wire something wrong and cause a short or damage the circuit. Lighting projects may seem minor, but they connect directly to your home’s electrical system. That’s not a place most people want to guess or hope for the best.
Someone familiar with switch replacements will be able to check that all the wiring is secure and current. They’ll also know how to safely identify any wiring problems and correct them. If your home is in Overland Park and hasn’t had much electrical maintenance over the years, it’s pretty common to run into awkward setups that need a little more attention.
Keeping Switches Safe Means Fewer Surprises Later
Switches are easy to ignore, but they’re part of your home’s daily rhythm. Whether it’s turning on hallway lights every morning or flipping a fan switch after work, they work hard behind the scenes. Waiting until a switch starts sparking or breaks completely isn’t the way to go, especially in homes that have been around for a while.
By swapping out old or poorly functioning switches, you’re taking care of more than just wiring. You’re looking after your peace of mind. Modern switches don’t just feel cleaner and respond better, they also support safer operation and reduce the wear on the rest of your system over time. When these small upgrades are overlooked for years, they often end up as more involved repairs.
Living in Overland Park, where homes might blend classic charm with aging infrastructure, it makes sense to stay ahead of these small updates. Making sure your switches are safe and working right helps keep your home comfortable and lowers the odds of bigger problems hiding behind the walls. It’s one of those small jobs with a big impact.
Keeping your light switches up to date is one small step toward maintaining a safe and comfortable home. If you’re in Overland Park and notice problems with your switches, it’s smart to take care of them before they lead to bigger problems. Learn how we can help with local home repairs in Overland Park. At Quality Handyman & Home Repair, we’re here to make your home run more smoothly and handle any issues that come up. Reach out to us for dependable help that fits your home’s needs.