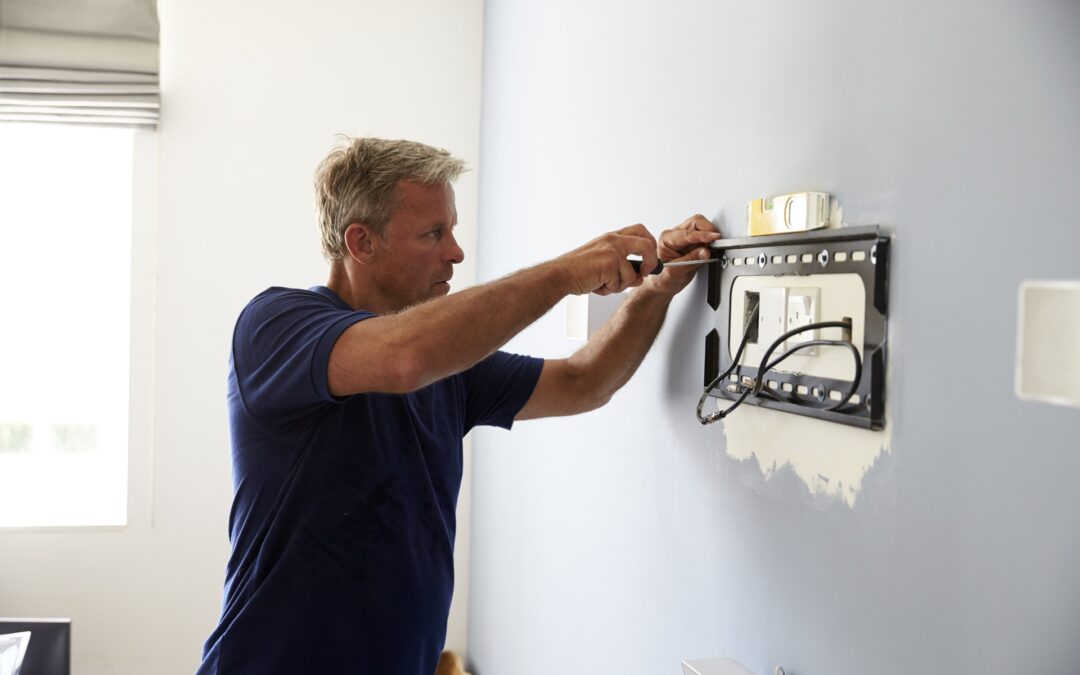
Thinking of mounting your TV in Overland Park but not sure where to start? Trust me, it’s an excellent way to save space and enhance your viewing experience. Mounting a TV might seem daunting, but with the right tools and some straightforward instructions, you can accomplish it just like a professional. This guide will help you through the entire process, ensuring that you not only achieve a clean and safe setup but also understand the nuances of choosing the right mount for your TV’s size and type.
Firstly, selecting the appropriate mount is crucial to both the aesthetics and the safety of your television installation. With several types on the market, from fixed mounts to full-motion options, making the right choice depends on your room layout and viewing needs. Additionally, preparing your workspace and having the right tools at hand can significantly streamline the process, which I will explain in detail.
By following these steps, you’ll learn how to securely and efficiently mount your television, adding a professional touch to your living room or entertainment area. Let’s dive into the essentials of TV mounting and turn that daunting task into a doable project with professional results.
Choosing the Right Mount for Your TV Type and Size
When it comes to TV wall mounting, selecting the right mount is crucial for both the safety of your device and optimal viewing experience. The first thing I consider is the size and weight of the TV, as these factors dictate the strength and style of the mount needed. For smaller, lighter TVs, a simple fixed mount might suffice, but for those larger, heavier screens, a tilting or full-motion mount is necessary to accommodate the extra weight and provide flexibility in viewing angles.
It’s also important to consider the VESA (Video Electronics Standards Association) size, which refers to the distance between the mounting holes on the back of your TV. This measurement helps ensure that the mount and TV are compatible. Always check the specifications of your TV and compare them to the mount’s supported VESA range and weight limit. This ensures a secure fit and avoids any strain that could lead to damage.
Preparation Steps Before You Begin Mounting
Before drilling any holes in your walls, proper preparation is key to a successful TV mounting. Firstly, determine the best location for your TV. This involves considering factors like viewing angle, natural light sources which might cause reflections, and distance from seating areas. A central spot directly opposite your main sofa at eye level from your seated position is typically ideal.
Next, you’ll need to find the studs in your wall using a stud finder, as these will provide the support needed to hold your TV securely. Mark these clearly with a pencil. Additionally, have all your tools and mounting hardware laid out and ready to go. This includes your drill, level, stud finder, screwdriver, and all screws and brackets included with your TV mount. Ensuring everything is on hand and easily accessible will streamline the installation process and prevent any unnecessary interruptions.
Detailed Guide to Installing Your TV Mount
Once the preparation is complete, it’s time to get down to the actual mounting process. Start by attaching the mounting bracket to the back of your TV. Make sure to align the holes and use the bolts supplied with your mount kit. Secure these bolts firmly but be careful not to overtighten, as this could damage your TV. With the bracket in place, lift the TV (I recommend having an assistant here for safety and ease), and hook it onto the wall plate that you’ve already attached to the wall studs. Ensure that it clicks into place or is secured according to the mount’s design.
Next, use a level to check that everything is perfectly horizontal. Minor adjustments can usually be made by tilting or shifting the TV within the mount’s capabilities. Once everything is set, tighten all the connections to secure your TV in position. It’s crucial to double-check every component to ensure that nothing is loose or improperly fitted. This step ensures your TV is safely mounted and reduces any risk of accidents in the future.
Safety Tips and Finishing Touches for a Professional Look
Safety is paramount when mounting a TV. Always ensure that the wall you choose can support the weight of the TV and mount combined. Use only the hardware included with your mounting kit since these are specifically designed to support the weight and size of your unit. Moreover, avoid running power cables through the wall unless there is a system designed for that purpose in your house. Instead, consider using a cable management system to keep cords neat and prevent tripping hazards.
For a clean and professional appearance, hide any exposed cables with paintable cable conduits that blend into your wall. Adjusting the position of your furniture might also enhance the viewing experience while keeping the area functional and stylish. Lastly, periodically check the mount to ensure it remains tightly secured and that no parts have loosened over time, as natural vibration from the TV and other environmental factors can occasionally cause fittings to relax.
With the right tools, a thoughtful approach, and attention to detail, you can achieve a professional TV installation in your home. If you need help or prefer professional installation to ensure everything is done perfectly, remember that Quality Handyman & Home Repair is just a call away. We’re experts in TV wall mounting and more, ready to help you enhance your home safely and stylishly.
