Mounting a mirror seems simple until you’re left staring at cracked drywall or crooked hangers. For homeowners, getting it right the first time can save a lot of cleanup and frustration later. The problem is that mirrors are heavier and trickier than most decorations. If mounted the wrong way, they can damage walls or, worse, come loose entirely.
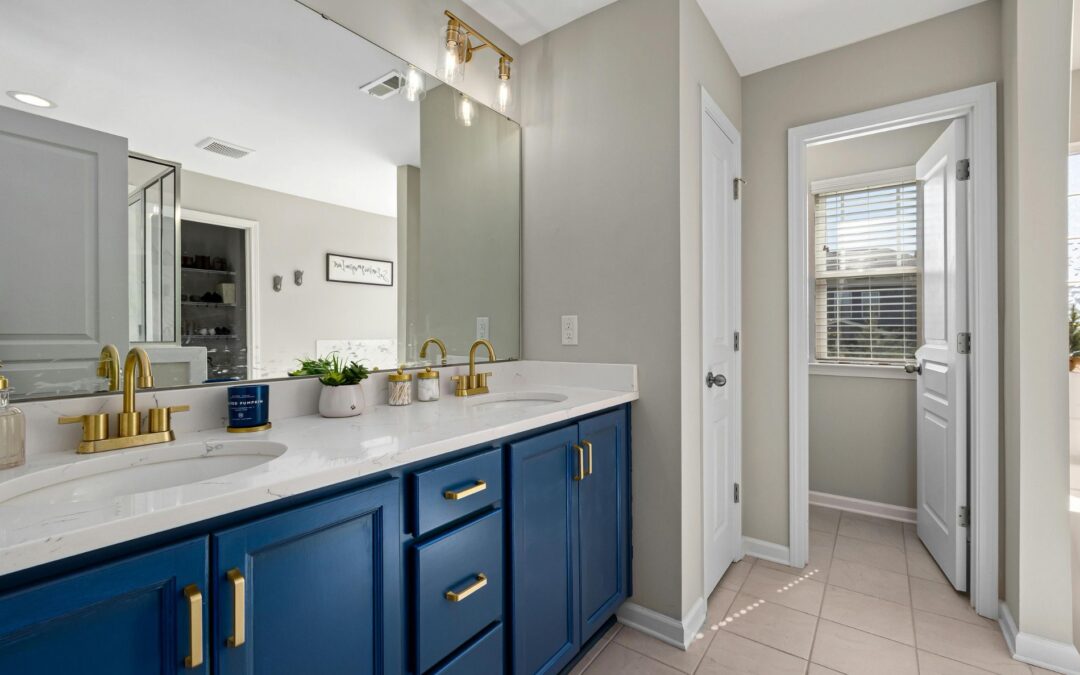
In Overland Park, where a lot of homes have drywall, plaster, or older framing, damage from poor installation can turn a small job into a bigger hassle. Whether it’s in a hallway, above a bathroom sink, or hanging across from a window to brighten up a room, mirrors need care and the right technique. With a little planning and the right tools, you can avoid mishaps, stay safe, and keep walls looking clean and sturdy.
Choose the Right Location and Mirror
Before you even pick up a level or drill, take time to plan where your mirror should go. Mirror placement affects both looks and safety, especially in areas with regular activity like narrow hallways, entryways, or bathrooms. A poorly placed mirror reflects badly, both literally and when it causes damage due to poor support.
Start by checking the type of wall you’re working with. In Overland Park, a lot of homes have drywall, but others might use plaster or concrete. Drywall is softer and needs extra support, while plaster tends to be more brittle. Use a stud finder to confirm whether there’s a stud behind the area. Anchoring into a stud gives you a better grip and helps avoid cracks or sagging later.
Next up is picking the right mirror. Look at:
– Weight: If it feels heavy in your hands, it needs better support
– Size: Large mirrors are easier to hang straight with two people involved
– Purpose: A decorative mirror in the living room doesn’t have the same needs as a fog-resistant one in the bathroom
Think about lighting and reflections too. A mirror facing a window brings in more natural light. One at the end of a hallway adds depth. Choose something that makes the room feel better, not just where it sort of fits.
Taking extra time upfront on choosing the wall and the mirror can make a noticeable difference in how it all turns out. And importantly, it helps avoid cracking walls or wasted holes that make patching harder than the job itself.
Use the Correct Mounting Hardware
Once you’ve got the location just right and have chosen a mirror that works for your space, it’s time to focus on hardware. This isn’t the time to guess or rely on those basic nails from the junk drawer. Using the wrong type of screw or anchor is a sure way to cause damage or risk the mirror falling.
Not all walls are created equal, and the same goes for anchors. Here’s a simple guide for getting it right:
– For drywall with a stud behind it: Go with heavy-duty screws directly into the stud. A stud gives your mirror natural support
– For drywall without a stud: Use toggle bolts or self-drilling drywall anchors rated for the mirror’s weight
– For plaster walls: Pre-drill carefully and use anchors designed to work in more brittle materials
– For brick or concrete: Masonry anchors and special drill bits are usually required
Skip any basic plastic anchors for heavier mirrors. They don’t hold well over time and can leave a mess behind if they pull loose. Many mirrors come with hanging hardware already attached, so check to make sure it matches what your wall can actually support.
Another tip—don’t forget to measure the spacing between mounts and test alignments before drilling. One common mistake is relying too much on the eye. Always use a level, and mark everything with a pencil. Save yourself from filling unnecessary holes later.
Choosing the right hardware might seem small, but it’s the main thing keeping your mirror on the wall and your drywall intact. A little attention here keeps things clean, safe, and damage-free in the long run.
Step-By-Step Installation Guide
Once you have the right spot and the proper hardware, it’s time to actually mount the mirror. This part can go smoothly if you move carefully and don’t rush.
Here’s a simple walkthrough of how to get your mirror on the wall without damage:
1. Measure and mark: Use a tape measure and a pencil to mark where the top and bottom of the mirror will sit. Then, mark where your mounting hardware needs to go. Double-check the spacing if your mirror has multiple brackets
2. Use a level: Lay your level across the marks to make sure everything lines up. A mirror that’s even slightly tilted can look off, and crooked holes are harder to fix later
3. Drill pilot holes: If you’re using anchors or going into a stud, start with small pilot holes to guide your screws. This keeps the wall cleaner and reduces crumbling, especially in plaster
4. Install wall anchors or brackets: Insert anchors where needed or screw in brackets according to your mirror’s design. Don’t tighten screws all the way just yet. Leave a tiny bit of play in case an adjustment is needed
5. Hang the mirror: Carefully lift the mirror and hook it onto the wall brackets or screws. Use two hands or get help to avoid dropping or tilting it during the process
6. Tighten and check: Once it’s hanging, make sure everything looks level. Then tighten anything that still feels a bit loose
One thing many people forget is to check for electrical wires or plumbing behind the wall. If you’re unsure what’s behind it, or if your mirror is heavier than you’d guessed, avoid guessing and get help.
Trying to do this solo with a large mirror can be tricky. It doesn’t take much for it to slip and cause damage, to the wall or to you. Take your time and stay focused through each step.
Maintaining Wall Integrity Post-Installation
Getting the mirror up is just the start. Keeping both your wall and mirror in good shape afterward is just as key, especially with humidity changes or wall shifts that can happen in Overland Park throughout the year.
Give your mirror a quick check from time to time. Small signs like tiny gaps behind the frame, tilt, or loose screws mean it’s time to tighten things up. Catching those early keeps damage from spreading or turning into a full fix-it job later.
When cleaning the mirror, always spray your cleaner onto a cloth, not directly on the glass. That helps avoid streaks and keeps moisture from dripping down behind the mirror onto the wall. Moisture collecting behind a mirror, especially in bathrooms or near windows, can stain paint, weaken anchors, or cause mildew to build up.
If you start noticing:
– Cracking around anchors
– Sagging from one side
– Wall material pulling out with the screw
That’s the moment to stop and figure out a fix before more damage shows up. Sometimes the hardware can be tightened or replaced. Other times, anchors may need to be patched up and moved to a stronger spot.
And if you don’t feel confident checking or adjusting things yourself, bring someone in who has experience. It’s worth avoiding drywall repairs or broken glass down the line.
Making the Most of Your Mirror Setup
A well-placed, securely mounted mirror can do more than reflect your space. It can brighten it, open it up, and become the kind of detail that makes a room feel finished. Taking the time to install it right means fewer patch jobs, fewer holes, and more peace of mind.
In places like Overland Park where seasonal humidity or structural settling can shift things over time, it’s even more important to keep tabs on changes around your walls. A mirror that holds up through the years and still looks great is a sign the job was done right to begin with.
Hanging a mirror shouldn’t be stressful, and it doesn’t have to end in touch-up paint or drywall fixes. With the right hardware, good alignment, and a steady hand, you get a safe and solid result that brings out the best in your space for the long run.
If you’re in Overland Park and want your mirror installation done right without damaging your walls, let us help. Our handyman services in Overland Park are built to handle tasks like these with care and precision. At Quality Handyman & Home Repair, we take the hassle out of home projects so you can enjoy the end result stress-free.