Walls endure a lot over time, from accidental bumps to the marks left behind from furniture adjustments. These incidents can leave unsightly holes and cracks that affect the appearance of your living space. Thankfully, repairing them is simple and refreshes your home’s look.
Gathering Essential Materials and Tools for Wall Repair
To repair small holes and cracks in your walls, you need specific materials and tools. Having these ready will make the repair process efficient and straightforward. Here’s a list of essentials you’ll want to have on hand:
1. Spackling Paste or Joint Compound: This is crucial for filling in holes and cracks. Choose a lightweight spackling for quick drying, especially if you’re patching small areas.
2. Putty Knife: Use this tool to apply spackling paste smoothly. Select a flexible knife for better control when spreading the compound.
3. Sandpaper or Sanding Sponge: After the spackling dries, sand the area to a smooth finish. Medium-grit sandpaper or a sanding sponge works well for this task.
4. Drywall Repair Patch: For larger holes, use a repair patch. These self-adhesive patches provide stability when covering bigger areas.
5. Primer and Paint: Once repairs are complete, you’ll need primer and paint for touch-ups. Make sure to match the existing wall color for a seamless look.
6. Cleaning Supplies: A damp cloth or sponge will help clean the wall before you begin repairs, ensuring the compound adheres properly.
By gathering these materials and tools beforehand, you’ll be well-prepared to tackle any minor wall repair tasks efficiently. Each item serves a specific purpose, helping you achieve professional-looking results.
Preparing the Wall Surface: Cleaning and Prepping
Before you start repairing holes or cracks in your wall, it’s important to prepare the surface properly. This ensures that the spackling compound sticks well and the repair lasts.
Start by examining the wall for any dirt, grease, or loose debris. Use a damp cloth or sponge to wipe the area down, removing any dust or grime. Cleaning the surface ensures that nothing interferes with the adherence of the spackling paste.
For cracks and holes, use a utility knife to scrape away any loose edges or fragments from the drywall. This step prevents peeling and provides a flat surface for the repair. Be careful not to widen the hole or crack more than necessary.
If the wall has peeling paint or wallpaper, sand down these areas to create a smooth, even surface. Use medium-grit sandpaper, being gentle to avoid damaging the underlying drywall. Vacuum or dust off any residue, leaving the surface clean and ready for repair.
Once the area is clean and smooth, tape off any sections surrounding the repair area to protect them. This also gives you a clear boundary to work within, keeping the repair neat and contained.
By thoroughly preparing the wall, you set a solid foundation for the repair process. Proper prepping helps ensure that your patched areas blend seamlessly with the rest of the wall, creating an even and professional finish.
Step-by-Step Guide to Patching Small Holes and Cracks
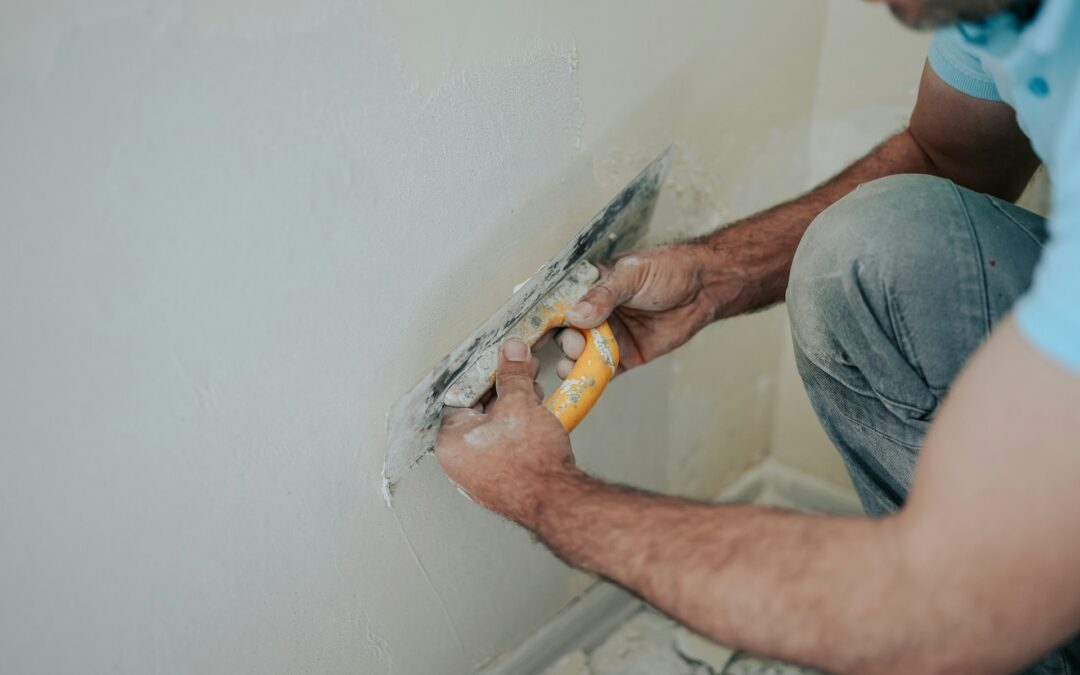
Repairing minor holes and cracks in walls isn’t as tough as it might seem. Start by identifying the size of the damage. For small nail holes, use spackle. Fill the hole directly with a dab of spackle using a putty knife, smoothing it flush with the wall. For medium-sized holes, employ a patch kit or use joint compound for added strength.
First, sand the area lightly with fine-grit sandpaper to remove any loose paint or plaster. Clean the area using a damp cloth to ensure the surface is dust-free. Apply a layer of joint compound over the crack or hole, extending it beyond the edges of the damage to blend it into the wall. Use a putty knife to smooth out the compound evenly. For larger cracks, place a mesh patch over the area before applying the joint compound.
Let the compound dry completely according to the product instructions. It might take a few hours or overnight. Once dry, gently sand the area with fine-grit sandpaper to achieve a seamless finish. Clean off any dust with a damp cloth to prepare for the final touch-ups. This process helps restore the wall’s appearance effectively.
Finishing Touches: Sanding and Touch-Up Painting Techniques
Once you’ve patched the wall successfully, the final step involves sanding and touch-up painting to ensure a polished look. Sand the patched area lightly with a fresh piece of fine-grit sandpaper. The goal is to remove any ridges left by the joint compound and create a smooth surface that blends with the surrounding wall.
After sanding, clean the wall with a damp cloth to remove any dust. Select a paint that matches your existing wall color. If you’re unsure of the color, consider painting a test patch in an inconspicuous area to match it precisely. Use a small paintbrush for precision, starting from the center of the patch outwards to eliminate any visible lines between the new and old paint.
For larger areas, a small roller can provide a more even finish, ensuring the patch blends well with the surrounding wall. Let the paint dry completely and reapply if needed to ensure uniformity. Inspect the wall under different lighting conditions to confirm the repair is nearly invisible.
A precise touch-up not only improves aesthetics but also reinforces the wall repair, ensuring it remains intact. Regular inspection and maintenance prevent future issues and keep your walls looking fresh and smooth.
Conclusion
Repairing small holes and cracks in your walls is an essential skill that enhances both the appearance and longevity of your home’s interior. By gathering the right materials, cleaning and prepping the surface, and following careful patching and painting techniques, you can address minor damage effectively. These repairs not only improve your living space’s aesthetic but also prevent larger issues from developing over time.
For those who find such tasks daunting or require assistance in other home maintenance areas, Quality Handyman & Home Repair is here to help. Whether you need help with drywall repair services, hanging wall art, or other household tasks, our experts can make home maintenance simple and stress-free. Contact us today to learn how we can assist you in keeping your home in top shape.