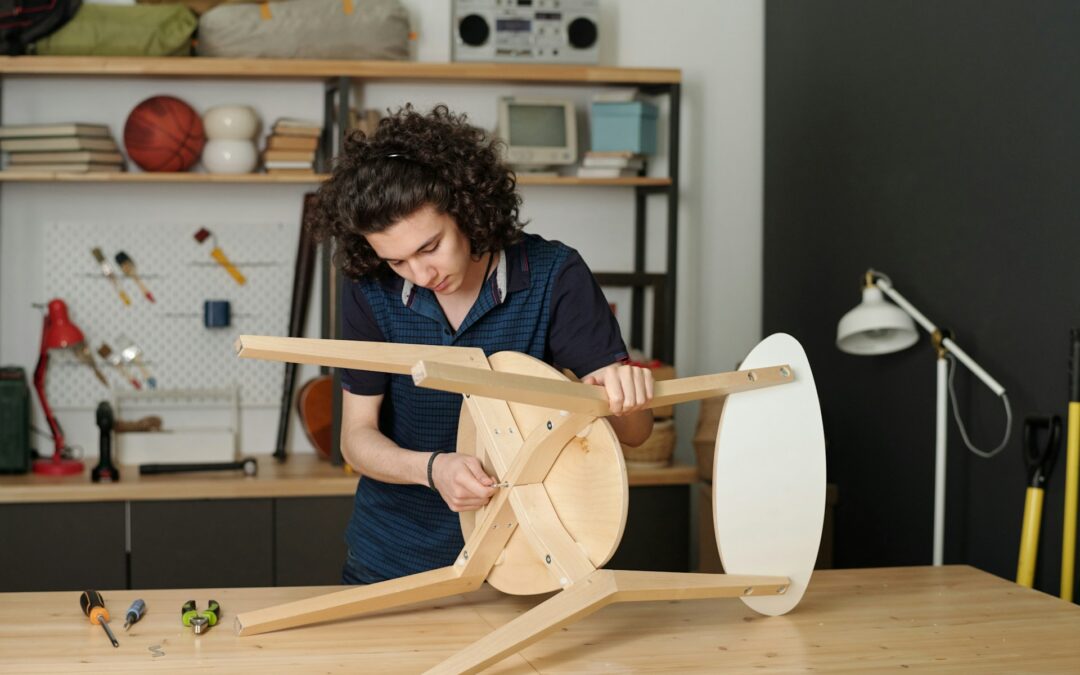
Assembling furniture by yourself can be both a rewarding challenge and a practical skill to learn, especially for those of us living in Overland Park where efficient space management is essential. With the right approach, assembling tables, chairs, or shelves can be straightforward, regardless of your prior experience. Whether you’ve just moved to a new home or looking to revamp your space, mastering DIY furniture assembly is a handy skill that can save time and money.
We’ll walk through the fundamental aspects of putting together your own furniture. We explain the essentials that everyone should know before starting their assembly project, from identifying the right tools to following clear step-by-step instructions. By the end, you’ll feel more confident in tackling any furniture assembly task that comes your way. Let’s equip you with knowledge and tips to make your next DIY project a breeze.
Understanding Furniture Assembly Basics
Embarking on a DIY furniture assembly project doesn’t have to be daunting. Knowing a few fundamental principles can streamline the process and lead to better results. First, always start by reading the manufacturer’s instructions carefully. These instructions are designed to guide you step-by-step, ensuring that each piece fits correctly without forcing or damaging the components. It’s crucial to identify all the parts and organize them before beginning the assembly. This includes all screws, bolts, and small fittings, which can often be misidentified or misplaced.
Another vital aspect is to understand the importance of not tightening all screws fully until the entire piece is loosely assembled. This allows for slight adjustments as you progress, ensuring that everything lines up perfectly in the final stages of assembly. This method also prevents the wood or other materials from cracking or warping due to uneven pressure. Once everything is aligned and fits seamlessly, you can go back and tighten all connections to solidify the structure.
Tools You Need for Successful DIY Furniture Assembly
To efficiently assemble furniture, having the right tools at hand is essential. Here’s a simple list to get you prepared:
– A set of screwdrivers: Phillips and flat-head screwdrivers are crucial for most furniture assembly projects. Some pieces may require specific types of screwdrivers, so checking the instructions first is advisable.
– A hammer or rubber mallet: These are necessary for gently tapping pieces into place without causing damage.
– An Allen wrench: Many furniture items come with an Allen wrench, but having a set of various sizes can be very helpful.
– A measuring tape: This is vital to ensure that the assembled piece will fit in your designated space and to verify that all parts align correctly during the assembly.
– A level: To ensure that shelves or other surfaces are perfectly horizontal, a level is indispensable.
With these basic tools, most furniture assembly undertakings can be managed with ease. Keeping these tools together in a dedicated toolkit can save time and frustration, ensuring you’re always ready for any assembly project. Remember, although power tools can speed up the process, they’re often not recommended for furniture assembly as they can easily strip screws or damage the delicate parts. Stick to hand tools unless you are very comfortable and experienced with power tools.
Step-by-Step Instructions for Assembling Common Furniture Pieces
Assembling furniture can feel like a puzzle, but with clear steps, we can put the pieces together seamlessly. Let’s take a generic flat-pack desk as an example. First, we lay out all pieces on a clean, soft surface to avoid scratches. We check against the inventory list to ensure all parts are present. Begin by attaching the side panels to the top panel using screws and dowels provided. It’s key to not fully tighten the screws until the entire desk is loosely put together.
Next, attach the back panel if there’s one, as it adds stability. Attach any drawer slides or hardware for shelves inside the desk framework. We then proceed to assemble the drawers separately. Start by constructing the sides, bottom, and back before attaching the face of the drawer. Insert the completed drawers into their respective tracks. Once everything is in place and aligned correctly, we tighten all the screws. Lastly, we attach any additional components like handles or cable management features.
Tips for Avoiding Common Furniture Assembly Mistakes
To avoid common pitfalls in furniture assembly, take these proactive steps. Always double-check the orientation of each piece before joining them, as many parts may look similar but have different assembly points or sides. Use the right tools as recommended by the instruction manual to prevent damage to the materials or hardware.
Another tip is to take your time. Rushing through the assembly process often leads to mistakes or missing steps, which could compromise the furniture’s structure. It’s also a good practice to regularly step back and review the assembly progress against the instruction manual to ensure that no steps have been missed. Finally, never force parts together; if they don’t fit effortlessly, they might be in the wrong orientation or order.
Wrapping Up Your DIY Furniture Assembly Project
We hope our guide empowers you to tackle your furniture assembly projects with confidence and ease. Remember, taking it step by step and using the right tools can transform an overwhelming box of parts into a beautiful and functional piece of furniture. Whether it’s setting up a new shelf for your Overland Park home or assembling a cozy study desk, the satisfaction of DIY projects adds a personal touch to your space.
If you find yourself needing a hand with more complex assemblies or tackling other home maintenance tasks, remember that Quality Handyman & Home Repair is just a call away. We’re here to help you with everything from furniture assembly to light fixture replacements, ensuring that every corner of your Overland Park home is just the way you want it. Trust us for handyman services in Overland Park, KS.
